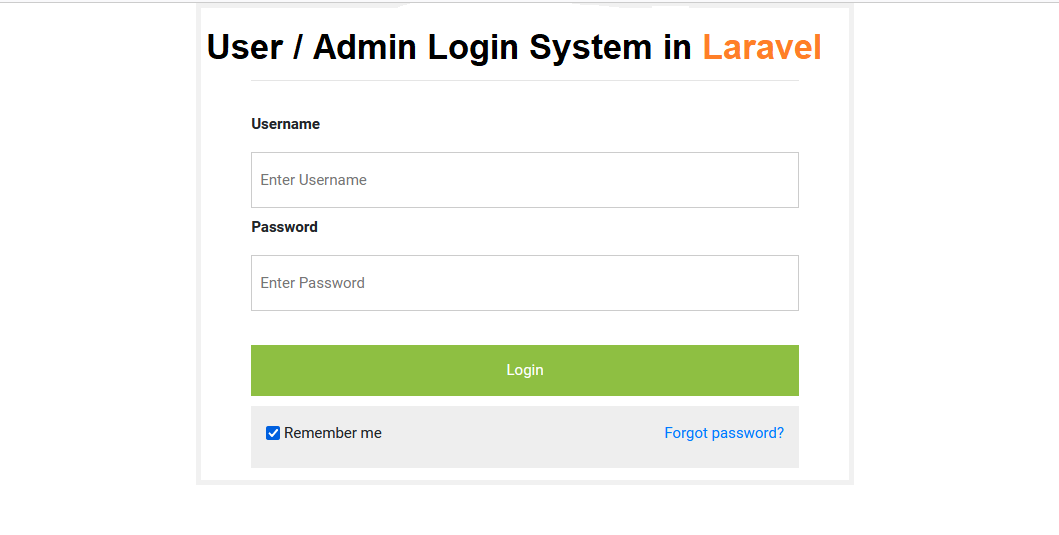
Make a Secure Laravel Login System for Admins and Users: A Step-by-Step Guide
Here's a detailed step-by-step guide on creating a secure Laravel login system for admins and users. Please note that this is a simplified version, and you might want to adapt it based on your specific needs.
Step 1: Install Laravel
Open cmd and Enter laravel new project_name
Step 2: Database Configuration
Configure your database details in the .env file:
DB_CONNECTION=mysql
DB_HOST=127.0.0.1
DB_PORT=3306
DB_DATABASE=your_database_name
DB_USERNAME=your_database_username
DB_PASSWORD=
Step 3: Database Configuration
Open the existing user migration file, which is typically located at - database→migrations→YYYY_MM_DD_create_users_table.php. Add the is_admin column.
public function up()
{
Schema::create('users', function (Blueprint $table) {
$table->id();
$table->string('name');
$table->string('email')->unique();
$table->boolean('is_admin')->default(0); // Add the is_admin column
$table->timestamp('email_verified_at')->nullable();
$table->string('password');
$table->rememberToken();
$table->timestamps();
});
}
Step 4: Run Migration
Run the migration to apply the changes to the database of Table :
php artisan migrate
Step 5: Make a Controller
Run the following command to generate the AuthController:
php artisan make:controller AuthController
Step 6: Make Registration form :
View Name : resister.blade.php
Html Code :
@if(session('success'))
<div class="alert alert-success">
{{ session('success') }}
</div>
@endif
<form action="{{route('studentRegister')}}" method="POST">
@csrf
<div class="form-group">
<label for="name">Student Name</label>
<input value="{{old('name')}}" type="text" id="name" name="name" placeholder="Enter name" class="form-control">
@error('name')
<p class="text-danger">{{$message}}</p>
@enderror
</div>
<div class="form-group">
<label for="email">Email</label>
<input type="email" value="{{old('email')}}" id="email" name="email" placeholder="Enter Email id" class="form-control">
@error('email')
<p class="text-danger">{{$message}}</p>
@enderror
</div>
<div class="form-group">
<label for="password">Enter Password</label>
<input type="password" id="password" name="password" placeholder="Enter password" class="form-control">
@error('password')
<p class="text-danger">{{$message}}</p>
@enderror
</div>
<div class="form-group">
<label for="password_confirmation">Re-Enter Password</label>
<input type="text" id="password_confirmation" name="password_confirmation" placeholder="Re Enter password" class="form-control">
@error("password_confirmation")
<p class="text-danger">{{$message}}</p>
@enderror
</div>
<br>
<input type="submit" name="submit" value="Submit" class="btn btn-primary">
</form>
-:Make Two Route for Registration Form 1) load view 2) for Data submit in Database :-
- Route::get('/register',[AuthController::class,'loadRegister']);
- Route::post('/register',[AuthController::class,'studentRegister'])->name('studentRegister');
-:Update AuthController :-
Open the generated AuthController located at app→Http→Controllers→AuthController.php and make two function of above route:
import bellow line for AuthContoller :
- use App\Models\User; // this is model name import for database table
- use Illuminate\Support\Facades\Hash; // for encrypting hash password make
Load Registration Form :
public function loadRegister()
{
return view('resister');
}
Registration Form Data submit:
public function studentRegister(Request $request)
{
// this is form validation part
$validate = $request->validate([
'name' => 'required|string|min:5',
'email' => 'required|email|max:100|unique:users',
'password' => 'required|confirmed|min:6',
'password_confirmation' => 'required'
]);
// end validation part
$data = new User(); // model for database
$data ->name = $request ->name;
$data ->email = $request ->email;
$data->password = Hash::make($request->password);
$data ->save();
return redirect()->back()->with('success','Data Save successfully');
}
Step 7: Make dashboard for admin & user :
Make Two view for admin and user when admin login he go to his Dashboard and when login user he go to his Dashboard . make tow route of two dashboard for lode page.
- Admin Dashboard view name - adminDashboard.blade.php
- User Dashboard view name - studentDashboard.blade.php
here adminDashboard view in Admin folder and studentDashboard in student folder.
:For Dashboard Route for view :
- Route::get('admin/dashboard',[AuthController::class,'adminDashboard']); // for Admin Dashboard
- Route::get('student/dashboard',[AuthController::class,'StudentDashboard']); // for Student Dashboard
:For Dashboard view Controller Code :
// for user Dashboard view
public function StudentDashboard()
{
return view('student.studentDashboard');
}
// for admin Dashboard view
public function adminDashboard()
{
return view('admin.adminDashboard');
}
Step 8: Make Login system :
:Make Login Form :
view name - login.blade.php
Html Code :
@if(session('error'))
<div class="alert alert-danger">
{{ session('error') }}
</div>
@endif
<form action="{{route('login')}}" method="POST">
@csrf
<div class="form-group">
<label for="email">Email</label>
<input type="email" value="{{old('email')}}" id="email" name="email" placeholder="Enter Email id" class="form-control">
@error('email')
<p class="text-danger">{{$message}}</p>
@enderror
</div>
<div class="form-group">
<label for="password">Enter Password</label>
<input type="password" id="password" name="password" placeholder="Enter password" class="form-control">
@error('password')
<p class="text-danger">{{$message}}</p>
@enderror
</div>
<br>
<input type="submit" name="submit" value="Login" class="btn btn-primary">
</form>
-:Make Two Route for Login Form 1) load view 2) for Login to Dashboard with Database :-
- Route::get('/login',[AuthController::class,'loadLogin']);
- Route::post('/login',[AuthController::class,'login'])->name('login');
-:Update AuthController :-
import is line header section of AuthController - use Illuminate\Support\Facades\Auth;
- // load login view page
public function loadLogin()
{
return view('login');
}
2. // Login to Dashboard code for user and admin
public function login(Request $request)
{
$request ->validate([
'email' => 'required|email',
'password' => 'required',
]);
$userCrediantials = $request->only('email', 'password');
if (Auth::attempt($userCrediantials))
{
if(Auth::user()->is_admin == 1) // for admin 1 and other admin is 0
{
return redirect('/admin/dashboard');
}
else
{
return redirect('student/dashboard');
}
}
else
{
return back()->with('error','Invalid credentials');
}
}
Step 9: Make logout Section :
This Section is include of Two dashboard view page. html code is bellow :
<form action="{{ url('logout') }}" method="POST">
@csrf
<button type="submit">Logout</button>
</form>
Route of Logout Section :
Route::post('/logout',[AuthController::class,'logout'])->name('logout');
Logout Section For AuthController Code :
first import header section of AuthController - use Illuminate\Support\Facades\Session;
public function logout()
{
Session::flush();
Auth::logout();
return redirect('login'); // login page redirect
}
Step 9: Middleware:
In Laravel, middleware is a way to filter HTTP requests entering your application. Middleware can be used to perform actions like authentication, logging, session handling, etc., before or after the request reaches your route handlers or controllers.
-:Create a Middleware:-
Run the following Artisan command to generate a new middleware: here create two middleware (1) adminMiddleware for Admin (2) AuthMIddleware for user.
- for admin - php artisan make:middleware adminMiddleware
- for user - php artisan make:middleware AuthMIddleware
This will create a file named adminMiddleware.php & AuthMIddleware.php in the app→Http→Middleware directory.
-:Edit the adminMiddleware.php:-
Open the adminMiddleware.php file and modify the handle method to perform the Admin login authentication:
if (Auth()->user() && Auth()->user()->is_admin == 1)
{
return $next($request);
}
return redirect('login');
Notes : this middleware in Laravel that checks if the authenticated user is an admin (is_admin == 1). If the condition is true, it allows the request to proceed; otherwise, it redirects the user to the login page.
- Auth()->user(): Checks if there is an authenticated user.
- Auth()->user()->is_admin == 1: Checks if the authenticated user has an is_admin attribute equal to 1 (assuming your user model has an is_admin field).
If both conditions are true, it means the user is authenticated and has admin privileges, so the middleware allows the request to continue (return $next($request)). Otherwise, it redirects the user to the login page.
-:Edit the AuthMIddleware.php:-
Open the AuthMIddleware.php file and modify the handle method to perform the normal user login authentication:
if (Auth()->user() && Auth()->user()->is_admin == 0)
{
return $next($request);
}
return redirect('login');
Note : a middleware in Laravel that checks if the authenticated user is not an admin (is_admin == 0). If the condition is true, it allows the request to proceed; otherwise, it redirects the user to the login page.
- Auth()->user(): Checks if there is an authenticated user.
- Auth()->user()->is_admin == 0: Checks if the authenticated user has an is_admin attribute equal to 0 (assuming your user model has an is_admin field).
If both conditions are true, it means the user is authenticated and is not an admin, so the middleware allows the request to continue (return $next($request)). Otherwise, it redirects the user to the login page.
-:Register Middleware:-
In your app→Http→Kernel.php file, add entries for your middleware in the $routeMiddleware array:
Code :
protected $routeMiddleware = [
// Other middleware entries...
'login' => \App\Http\Middleware\AuthMiddleware::class,
'checkAdmin' => \App\Http\Middleware\adminMiddleware::class,
];
-:Use Middleware in Routes:-
Apply the middleware to your routes or controllers:
Student Dashboard Route:
Route::group(['middleware' => ['web','login']],function(){
Route::get('student/dashboard',[AuthController::class,'StudentDashboard']);
});
Note : This route make with Step 7. here include with middleware group for any body can't access this dashboard.
This route group is protected by the 'web' middleware (which includes necessary middleware for handling sessions, CSRF protection, etc.) and the 'login' middleware. It means that the user must be authenticated to access the StudentDashboard action in the AuthController.
Admin Dashboard Route:
Route::group(['middleware' => ['web','checkAdmin']],function(){
Route::get('admin/dashboard',[AuthController::class,'adminDashboard']);
});
Note : This route make with Step 7 . here include with middleware group for any body can't access this dashboard. this dashboard can access only admin.
This route group is also protected by the 'web' middleware and the 'checkAdmin' middleware. It indicates that the user must be authenticated ('web' middleware) and must pass the 'checkAdmin' middleware, which presumably checks if the user is an admin.
Step 10: Login Logic:
when user or admin login with his self Dashboard . They are can't back login page but he when logout then access login page other wise not redirect login page.
If a user tries to access the login page while already authenticated, you can redirect them to their respective dashboard instead. However, if they are not authenticated, you can show them the login page.
- here modify step 8 Update AuthController - method (loadLogin)
public function loadLogin()
{
if(Auth::user() && Auth::user()->is_admin == 1)
{
return redirect('admin/dashboard');
}
else if(Auth::user() && Auth::user()-> is_admin == 0)
{
return redirect('student/dashboard');
}
return view('login');
}

Sandipan Kr Bag
I'm a dedicated full-stack developer, entrepreneur, and the proud owner of ocec.org.in , hailing from the vibrant country of India. My passion lies in creating informative tutorials and sharing valuable tips that empower fellow artisans in their journey. With a deep-rooted love for technology, I've been an ardent enthusiast of PHP, Laravel, Angular, Vue, Node, JavaScript, jQuery, Codeigniter, and Bootstrap from their earliest days. My philosophy revolves around the values of hard work and unwavering consistency, driving me to continuously explore, create, and share my knowledge with the tech community.
* Hire MeRelated Posts
জাভাস্ক্রিপ্ট কি? এটি কেন ব্যবহার করা হয় ?
জাভাস্ক্রিপ্ট লেখার পদ্ধতি
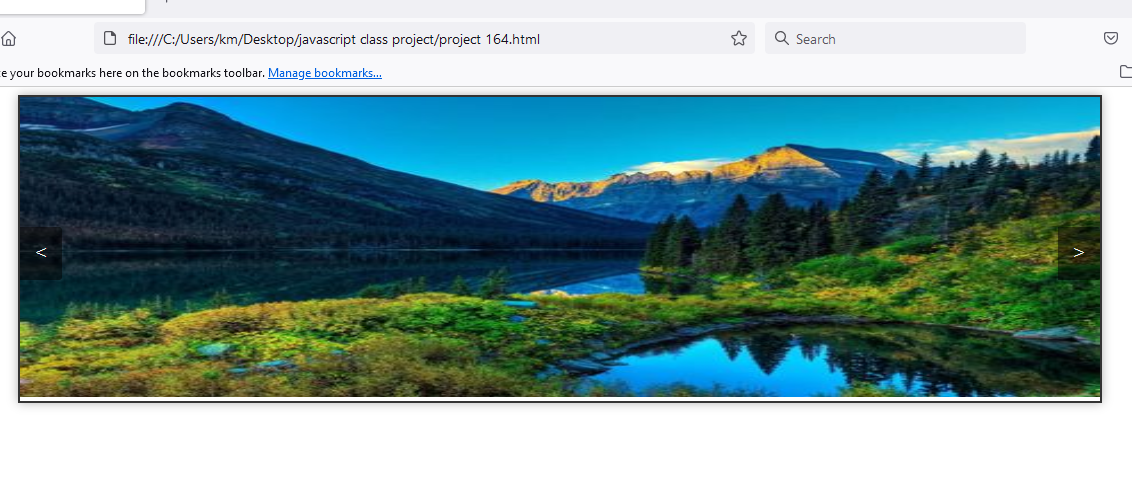
Step-by-Step Guide a Dynamic Image Slider with HTML, CSS, and JavaScript

Search
Latest Posts

Using AOS (Animate On Scroll) in React with Tailwind CSS
10 months ago

WebkitSpeechRecognition API
11 months ago

GitHub Understanding Common Prefixes in Conventional Commits
11 months ago
Subscribe to Our Newsletter
Get the latest updates straight to your inbox.