Laravel Question and Answer Platform with Maatwebsite Excel Import using AJAX

Maatwebsite Excel is a powerful package for Laravel that simplifies the process of working with Excel files. It provides a set of tools and functionalities to import and export Excel files in Laravel applications.
Here are the general steps for importing Excel files in Laravel using the Laravel Excel package:
steps 1 : Install Laravel Excel:
Install the Laravel Excel package using Composer: open CMD
composer require maatwebsite/excel
If you have problem writing the above code you can write any of the following.
composer require maatwebsite/excel --with-all-dependencies
Step 2 If you want to register it yourself, add the ServiceProvider in config/app.php:
'providers' => [
/* * Package Service Providers... */
Maatwebsite\Excel\ExcelServiceProvider::class,
]
add the Facade in config/app.php:
'aliases' => [
...
'Excel' => Maatwebsite\Excel\Facades\Excel::class,
]
Step 3 Publish Configuration:
Publish the configuration file to customize settings: open CMD and Enter bellow code.
php artisan vendor:publish --provider="Maatwebsite\Excel\ExcelServiceProvider" --tag=config
This command will create a excel.php file in the config directory.
Step 4 - make a model for data store :
Step 5 Create import class :
php artisan make:import import_name --model=model_name
generate this file app → imports directory.
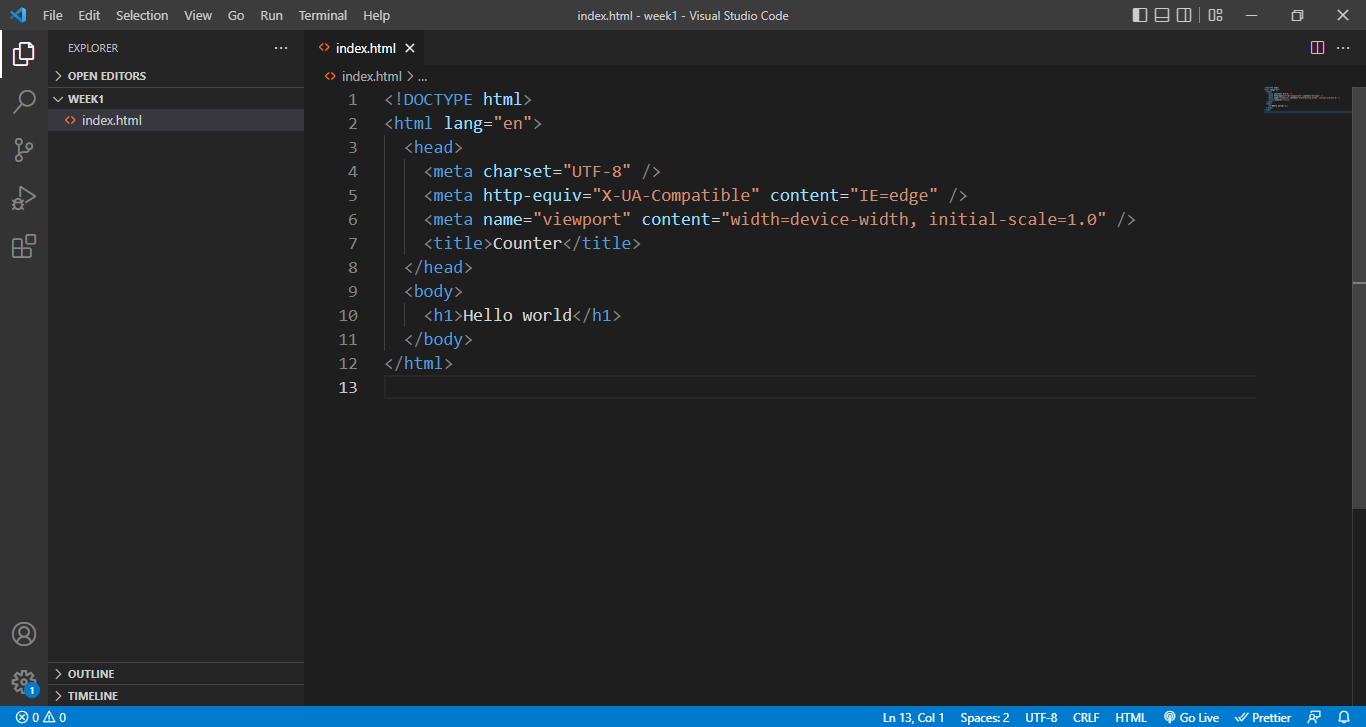
Step 6 html code :
<form id="importQna">
@csrf
<inputtype="file"class="form-control"name="file"id="fileupload"accept=".xlsx, .xls, .csv" required>
<buttontype="button"class="btn btn-primary">Import</button>
</form>
Step 7 :- make controller :
php artisan make:controller controller_name
Step 8 - make a route for import excel file
Route::get('import_Question',[importController::class,'import_question'])->name('import_question');
Step 9 - open controller :
First import –
use App\Imports\Qnaimport ; // this import file
use Maatwebsite\Excel\Facades\Excel;
publicfunction import_question(Request$request)
{
$file = $request->file('file');
Excel::import(new Qnaimport, $file);
returnresponse()->json(['success' => 'File imported successfully']);
}
Step 10 - ajax :
/ import excel file for question and answer
$("#importQna").submit(function(e){
e.preventDefault();
dataForm = new FormData();
// dataForm.append("file",fileupload.files[0]);
$.ajaxSetup({
headers: {
"X-CSRF-TOKEN":"{{csrf_token()}}",
}
})
$.ajax({
url : "{{route('import_question')}}",
type : "POST",
data:dataForm,
contentType:false,
processData:false,
success:function (data) {
console.log(data);
location.reload();
alert(data.success);
// $(#error).text(data.success).css('color','green');
},
error:function (error) {
// Handle error response
// Display error message in resultMessage element
$('#error').text('Error: ' + error.responseText);
}
})
})
11Steps - open import file which is create step 6
If you display log file . please type bellow code :
First import –
use App\Models\answer;
use App\Models\question;
use Illuminate\Support\Facades\Log;
write :
Log::info($row);
After write above code then go to webpage then choose a excel file and click on import button . go to storage à logs à laravel.log
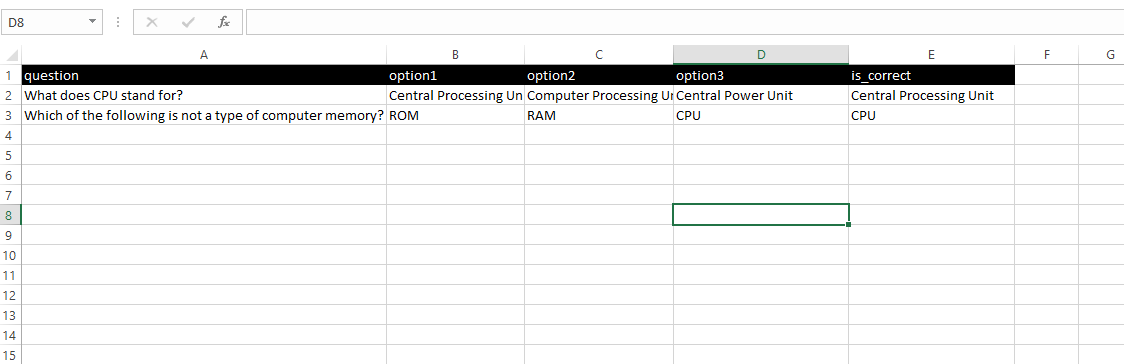
Excel data insert in database table with import file like controller
//\Log::info($row);
if($row[0]!= 'question')
{
$question_id = question::insertGetId([
'question'=>$row[0]
]);
for($i=1;$i < count($row)-1;$i++) {
if($row[$i] != null)
{
$is_correct =0;
if($row[4] == $row[$i])
{
$is_correct =1;
}
answer::insert([
'questions_id' => $question_id,
'answer' => $row[$i],
'is_correct' => $is_correct
]);
}}}

Sandipan Kr Bag
I'm a dedicated full-stack developer, entrepreneur, and the proud owner of ocec.org.in , hailing from the vibrant country of India. My passion lies in creating informative tutorials and sharing valuable tips that empower fellow artisans in their journey. With a deep-rooted love for technology, I've been an ardent enthusiast of PHP, Laravel, Angular, Vue, Node, JavaScript, jQuery, Codeigniter, and Bootstrap from their earliest days. My philosophy revolves around the values of hard work and unwavering consistency, driving me to continuously explore, create, and share my knowledge with the tech community.
* Hire MeRelated Posts

জাভাস্ক্রিপ্ট কি? এটি কেন ব্যবহার করা হয় ?
জাভাস্ক্রিপ্ট লেখার পদ্ধতি
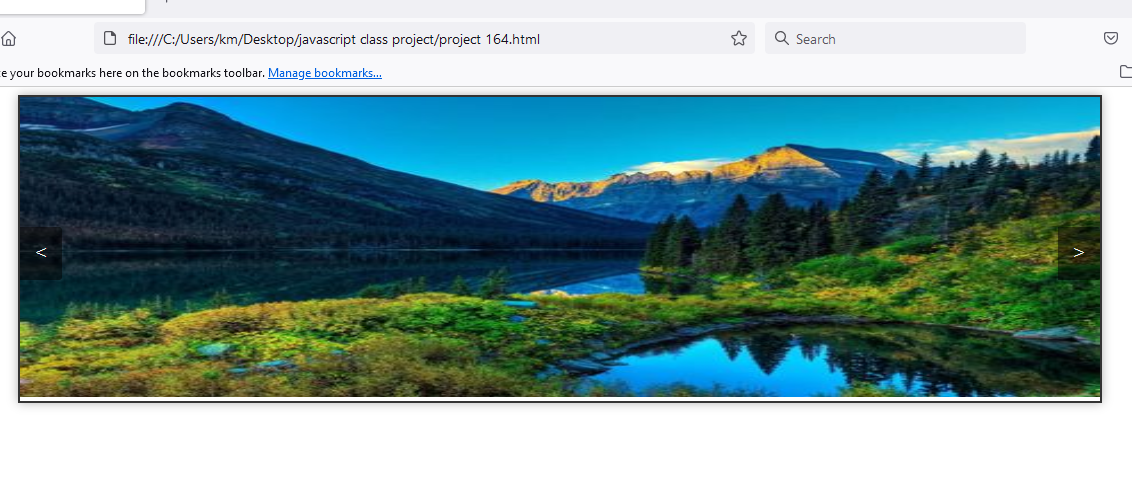
Step-by-Step Guide a Dynamic Image Slider with HTML, CSS, and JavaScript

Search
Latest Posts

Using AOS (Animate On Scroll) in React with Tailwind CSS
10 months ago

WebkitSpeechRecognition API
11 months ago

GitHub Understanding Common Prefixes in Conventional Commits
11 months ago
Subscribe to Our Newsletter
Get the latest updates straight to your inbox.